I recently built my blog with Hugo and chose the PaperMod theme. It works well out of the box, but I’ve made a few tweaks to make it my own, such as replacing the “Search” menu text with an icon.
Another thing I’ve tweaked is the font. By default, PaperMod uses the system font stack, which is a smart choice for website speed. The browser doesn’t need to make any external requests; it simply uses the fonts already available on your device.
I like how system fonts look on macOS, iOS, Android, and Linux, but I’m not a fan of how they look on Windows. Unfortunately, PaperMod doesn’t offer a built-in option for switching to Google Fonts.
The good news is that both Hugo and PaperMod are very flexible, and adding Google Fonts yourself isn’t that complicated. In this article, I’ll show you two ways to do it: using the embed code straight from Google Fonts, and downloading the fonts and self-hosting them with google-webfonts-helper.
Before you start: choose your font and weights
Head over to Google Fonts and choose a font you like. In this guide I’ll use Lora as an example, but the steps are identical for any Google font.
One tip before you get started: only pick the font weights you actually need. For a blog, Regular (400) and Bold (700) are usually enough. Every extra weight or italic style is another file the browser has to download, and that slows your site down.
Files you’ll be working with
layouts/partials/extend_head.htmlis where you add anything that should go inside the<head>of every page.assets/css/extended/custom.cssis where you put your own CSS.static/fonts/is where your font files go, but only if you’re self-hosting.
None of these exist in a fresh Hugo project, so you’ll have to create them yourself. This way you’re not directly editing the theme files, so updating PaperMod won’t overwrite your changes.
extend_head.html isn’t only for fonts. I also use it to load my Umami analytics script, so if you already have the file, you can just add to it.
Method 1: Use the Google Fonts embed code
This is the quickest method. Google hosts the font files, and your website loads them from Google’s servers.
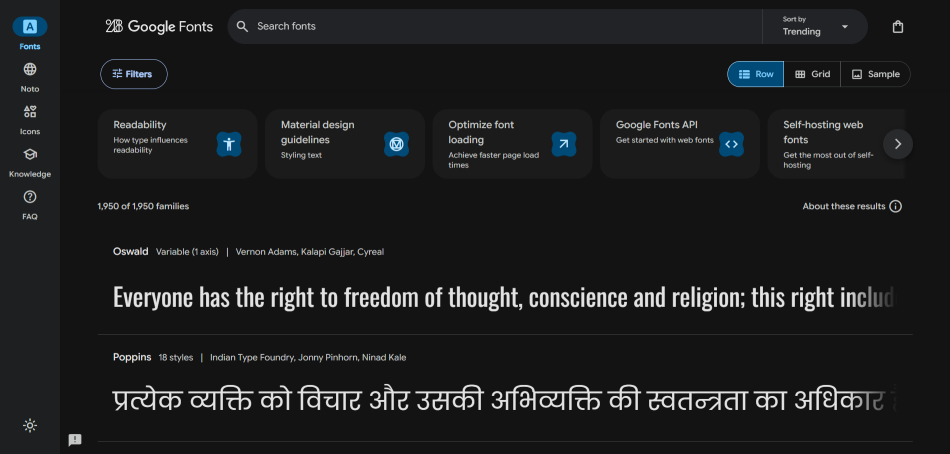
Google Fonts
Step 1: Get the embed code
Visit Google Fonts, search for your chosen font, and select the weights you want to use.
Open the Get embed code panel and choose the <link> option. You’ll get something like this:
| |
Step 2: Add the code to extend_head.html
Create layouts/partials/extend_head.html in your Hugo project if it doesn’t already exist. Paste the embed code from the previous step into the file and save it. PaperMod will include these links in the page’s <head>, allowing the browser to load the selected font.
Step 3: Tell your site to use the font
PaperMod sets the font on the body element, so you’ll have to override this rule. Open assets/css/extended/custom.css and add:
| |
The extra names after 'Lora' are fallbacks. If the font fails to load for any reason, the browser uses the next one in the list. That’s it. Now save the file and rebuild or refresh your website to check that the font has changed.
Pros and cons of this method
Pros:
- Quick and easy to set up.
- No font files to download or manage.
- Google hosts and serves the font files for you.
Cons:
- The browser makes requests to Google’s servers to load the font.
- The font may take longer to load if the connection to Google’s servers is slow.
- Requests to third-party servers can have privacy implications. Depending on your website and visitors, loading Google Fonts externally may also raise GDPR compliance concerns.
Method 2: Self-host the fonts with google-webfonts-helper
This is the method I use on my blog. Instead of requesting font files from Google, you download them and serve them directly from your own website. There’s a bit more setup, but you get more control and there are no third-party requests.
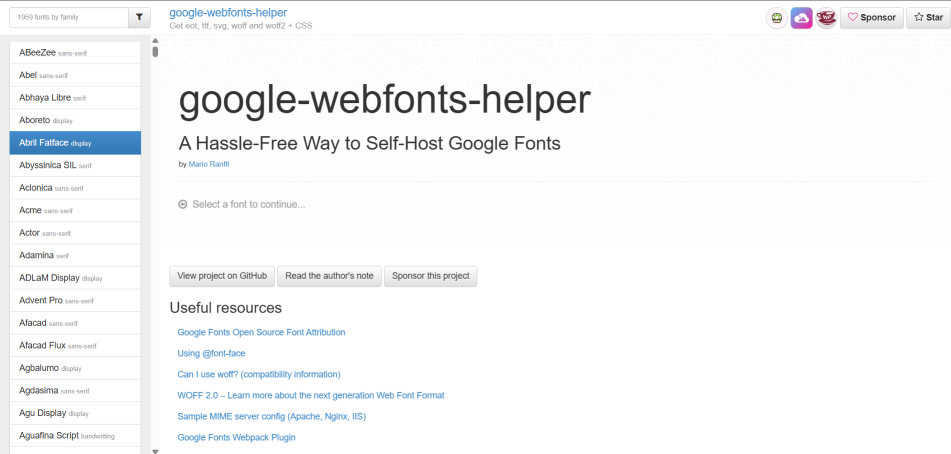
google-webfonts-helper
Step 1: Download the font files
Go to google-webfonts-helper and search for your font. Then:
- Select the charset you need. For English,
latinis enough. Fewer charsets means smaller files. - Select the styles you want, such as
regularand700. - Under Copy CSS, choose Modern Browsers. Every modern browser supports the woff2 format, so you don’t need the older formats.
- In the Customize folder prefix field, enter
/fonts/. This makes the generated CSS point to the right place in your Hugo site. - Download the zip file with the font files and extract it.
Keep the generated CSS handy because you’ll need it in the next step.
Step 2: Put the font files in your static folder
Copy the downloaded .woff2 files into a new static/fonts/ folder in your Hugo project:
| |
Your file names might look slightly different, mainly the version number in the middle. Hugo copies everything in static/ to the root of your built site, so these files will be served from /fonts/.
Step 3: Add the @font-face rules
google-webfonts-helper also generates the CSS for you, so paste it into assets/css/extended/custom.css. It will look like this:
| |
Make sure the file names in the url() match the files you actually put in static/fonts/. The final body rule tells your website to use Lora, just as it did in Method 1.
Step 4: Preload the main font files
Preloading is optional. A preload tells the browser to start downloading the font right away, instead of waiting until it has read the CSS. Add this to layouts/partials/extend_head.html:
| |
The crossorigin attribute is required even though the files are on your own domain. Without it, browsers download the font twice. Only preload the font-weights you use on almost every page, because preloading too many files defeats the purpose.
Pros and cons of this method
Pros:
- No requests to Google’s servers to load the font files.
- You have control over how your website serves and caches fonts.
- Better visitor privacy with respect to third-party font requests.
- Can simplify GDPR compliance by eliminating this particular third-party request.
Cons:
- Requires a little more setup.
- You need to manage the font files yourself if you change fonts or weights later.
Which method should you choose?
If you want to experiment with different fonts quickly, using Google’s embed code is the easiest option. Google handles the font hosting, and you only need to add a few lines of HTML and CSS.
For a blog you plan to maintain for years, I’d recommend self-hosting. The initial setup takes a little longer, but once the font files are in place, there’s very little to maintain. You also avoid third-party requests for fonts and have more control over how they’re delivered.
Since fonts generally aren’t something you’ll need to change frequently, I prefer self-hosting for my blog. Ultimately, both methods work. Choose the one that best fits your priorities.
Final thoughts
Adding Google Fonts to PaperMod isn’t that complicated and requires only a couple of files. You don’t need to edit the theme’s code, so your customizations remain separate from future theme updates. Both methods have their advantages.
If something doesn’t work, check the Network tab in your browser’s developer tools to confirm the font files are loading. And if you’re customizing PaperMod further, take a look at how I replaced the “Search” menu text with an icon.