When I started my blog, I wanted a simple way to understand how people were finding and reading my posts. Where were my visitors coming from? Was anyone even visiting at all? I didn’t need anything complicated, just a way to see how my blog was doing. For that, I needed an analytics tool.
Google Analytics is a popular choice, but there are reasons I didn’t want to use it. It loads additional JavaScript, which can affect page performance, and it collects data about website visitors. Depending on how it’s configured and which visitors you track, it can also create privacy and consent requirements, particularly for visitors from the EU.
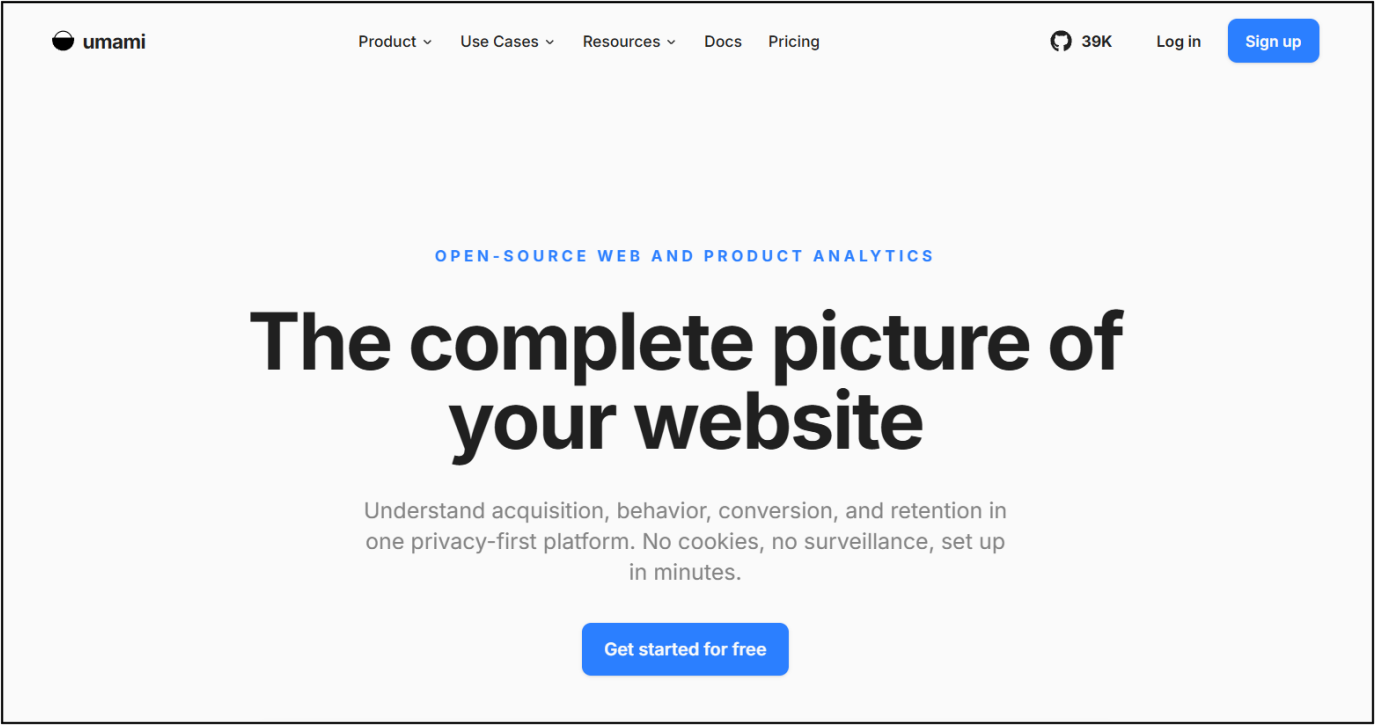
So I started looking for a lightweight, privacy-focused alternative that would help me understand my blog’s traffic without adding unnecessary complexity. That’s how I came across Umami Analytics. It’s open source, doesn’t use cookies, and gives me the insights I was looking for.
Here’s how I added it to my Hugo site using the PaperMod theme.
Why Umami?
There are several open-source alternatives to Google Analytics, including Plausible, OpenPanel, and Rybbit. Each has its own features and pricing, but I wanted something I could use for my personal blog without worrying about a subscription right off the bat.
Umami’s free Cloud plan includes up to 100,000 events per month, one website, and six months of data retention. That’s plenty for my needs. If you’d rather manage everything yourself, you can also self-host Umami for free.
The combination of a simple dashboard, a generous free plan, and a privacy-focused approach made Umami an easy choice for my blog.
Step 1: Create your Umami Cloud account and add your website
Sign up at cloud.umami.is and verify your email address. Umami then walks you through a short setup.
First, choose where your data will be stored: the United States or the European Union. Once selected, you can’t change this later.
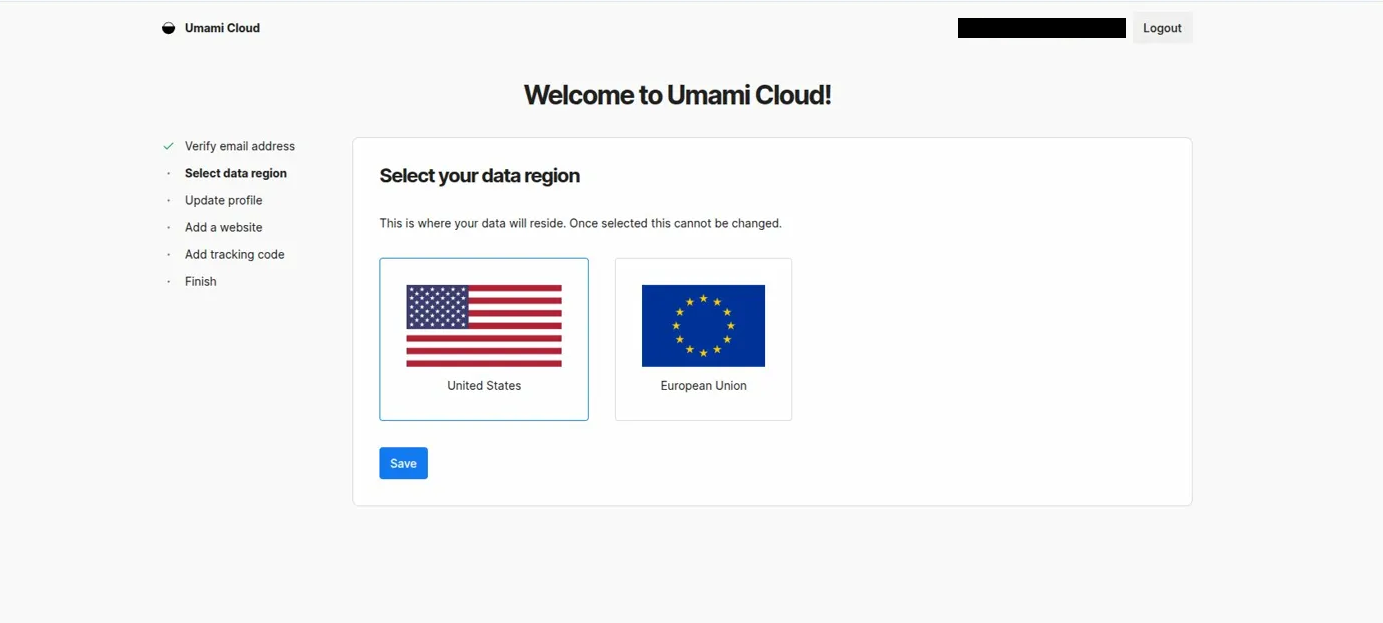
Choose a data region
Next, Umami asks about your role and the type of website you’re tracking. These answers only tailor the experience and don’t affect tracking, so choose whatever fits.
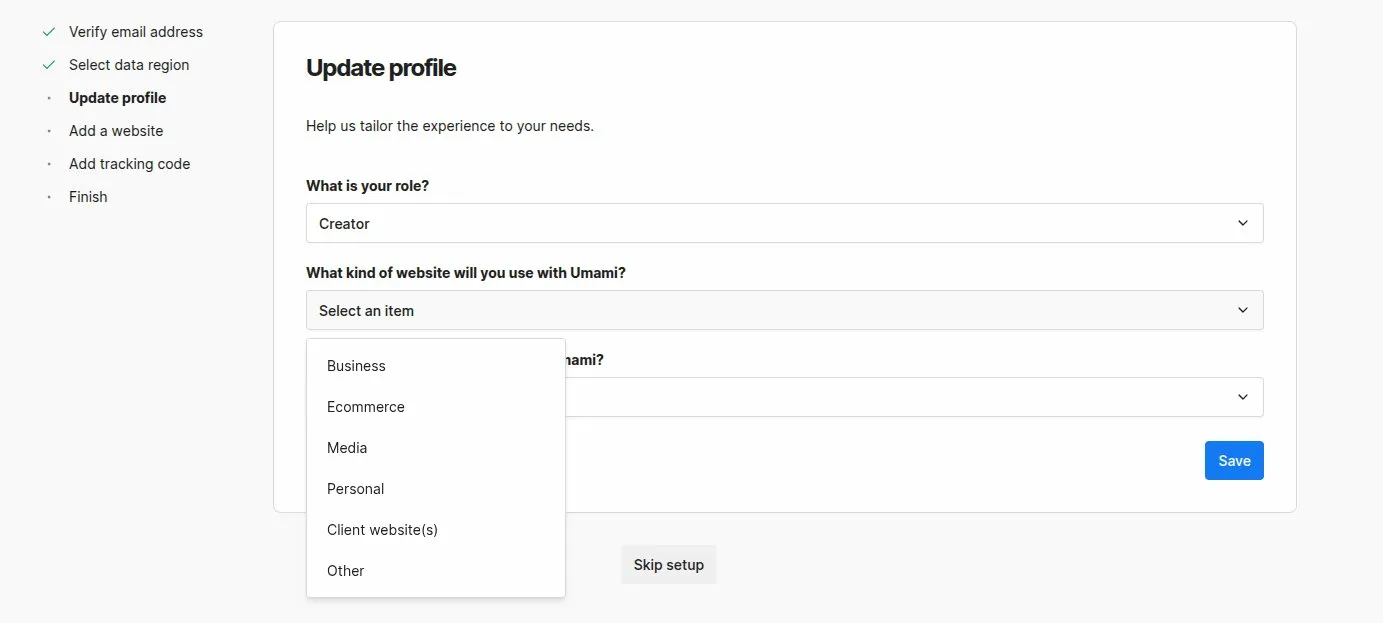
Pick your role and website type
Finally, enter a name for your site and your domain. Enter only the domain, like pintubiswas.com, without https:// or http://. Umami rejects anything else with an “Invalid domain” error.
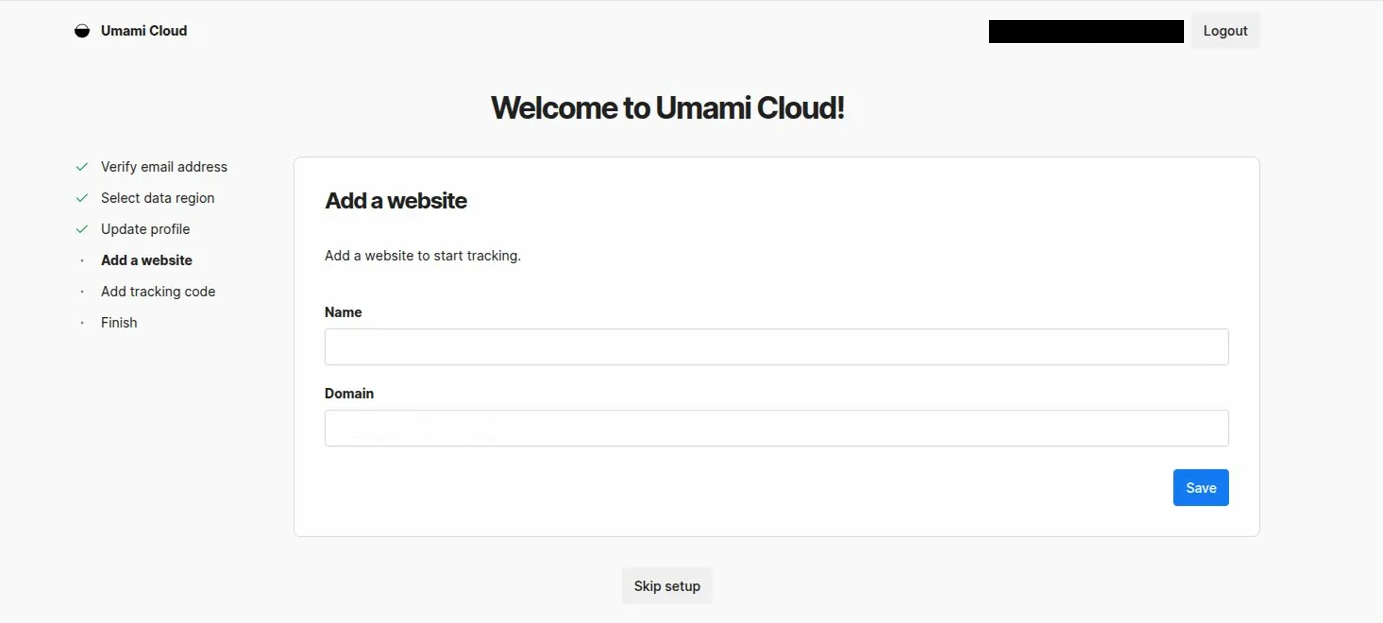
Enter your site’s name and domain, without https://.
After you save, Umami will provide a tracking script that looks something like this:
| |
Your website ID is unique to your website, so copy the one provided in your dashboard. You’ll need it in the next step.
Step 2: Add the script to Hugo
PaperMod has built-in support for Google Analytics. You can enable it by adding the following to your hugo.yaml:
| |
However, this built-in option only works for Google Analytics. To use Umami, you need to add its tracking script to the <head> of your site yourself. PaperMod makes this easy with an optional partial called extend_head.html, which is loaded inside the <head> of every page. That means you can add the script without editing the theme itself.
If you don’t have one yet, create layouts/partials/extend_head.html in your site’s root folder (not inside the theme folder), then add:
| |
Replace YOUR-WEBSITE-ID with the ID you copied from Umami.
If the file already exists, just add the script to it. I use the same file to load fonts, which I covered in How I Added Google Fonts to My Hugo PaperMod Blog.
If you use a different theme, check its documentation for where it loads the <head>, since the file name may differ.
Step 3: Deploy and verify
Deploy your site, open a few pages, then go to the Realtime view in Umami. Your visit should appear within a few seconds.
If nothing shows up, check these two things:
- Open your browser’s Network tab and look for the
script.jsrequest. - Turn off your ad blocker. Some of them block analytics scripts, even privacy-friendly ones.
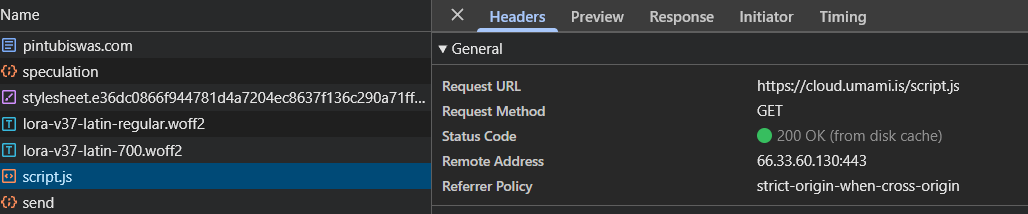
A working setup: script.js loads with a 200 status, followed by a send request
Keep in mind that the script runs wherever your site’s <head> is loaded, so visits from your local hugo server may also appear in your stats. If you see a visit you don’t recognize in Realtime, it’s probably your own preview.
Once your visits appear in the dashboard, you’re all set!
Final thoughts
If you’re running a Hugo blog and want a privacy-focused, lightweight, and straightforward way to understand your traffic, Umami is worth trying.
The setup is simple, and you can get started without paying for a subscription or making major changes to your site.