Notion doesn’t include a built-in weather widget, but you can easily add one using a free online tool called Indify. It lets you create a customizable weather widget that displays the forecast for your chosen location directly on your Notion page.
If you’ve seen weather widgets in other Notion templates and wondered how to add one to your own workspace, this guide is for you. I’ll walk you through the entire process, from creating and customizing your widget in Indify to embedding it in Notion.
How to add a weather widget to Notion
Follow these steps to create a weather widget and add it to your Notion page.
Step 1: Create an Indify account
Go to Indify and create a free account using your email address or Google account.
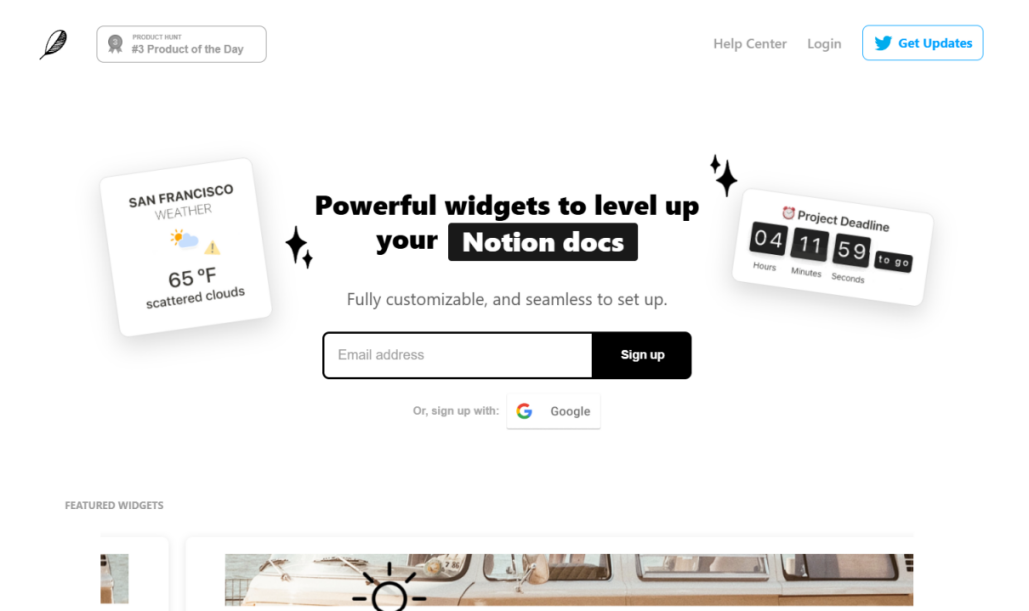
Sign up with your email address or Google account
Step 2: Select the weather widget
Once you’re signed in, find the Volume 1 section on the Indify homepage and select the weather widget.
Step 3: Customize your widget
Indify lets you customize several aspects of the widget, including the location, temperature units, and forecast duration. Adjust these settings to your preferences.
Step 4: Embed the widget in Notion
Once you’ve finished customizing your widget, copy the embed link from the bottom of the Indify customizer.
Next, open your Notion page and create an Embed block. Paste the copied link into the block and select the option to embed it. Your weather widget should now appear on the page.
You can resize the widget and move it around to fit your page layout.
Wrapping up
That’s it! You’ve successfully added a weather widget to your Notion page using Indify.
The widget gives you quick access to weather information, such as the current temperature and forecast, without leaving your workspace. You can also customize its appearance and settings to match your Notion page.
If you want to make your Notion workspace more useful and personalized, adding a weather widget is a simple way to get started.